Android View Controller 
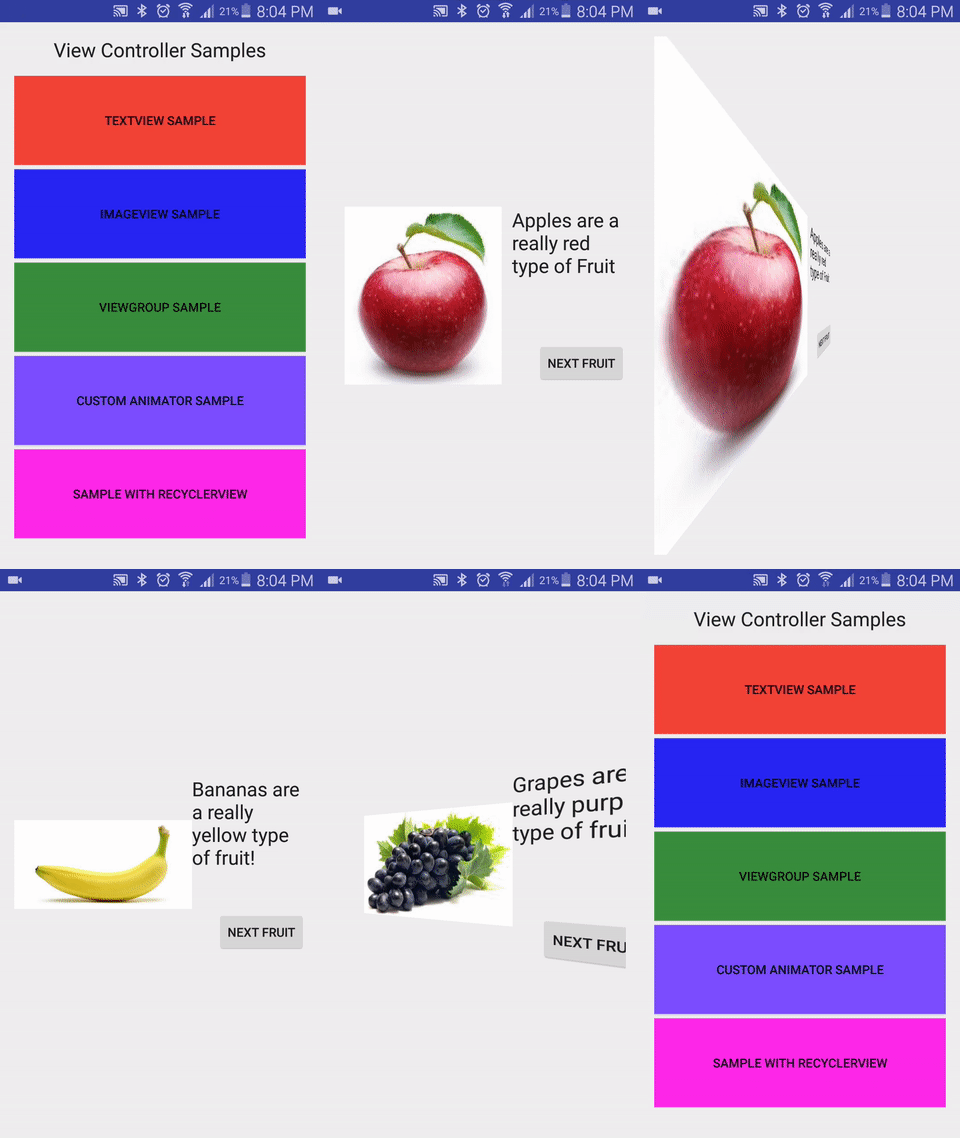
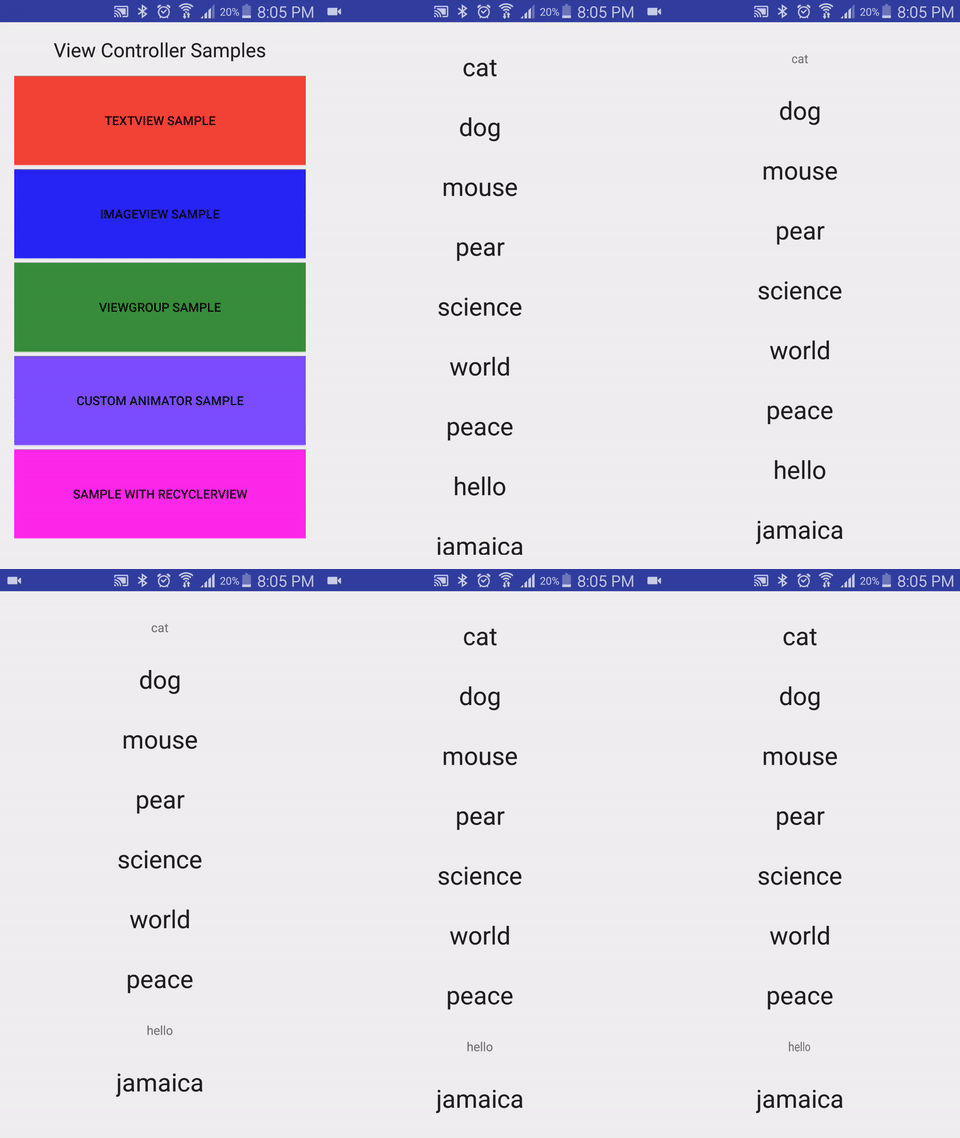
An Android library for cycling through views using animations in a list. The library also provides animations as built in animations that can be used:
-
A right flip animation
-
A left flip animation
-
A fading animation
-
A shake animation
-
A Slide left animation
-
A Slide right animation
-
A top flip animation
-
A bottom flip animation
Examples of how to use the library have been provided in the example module, you can build and run the app to see it in action.
Installing
This library can be installed one of 3 ways.
As a dependency on gradle
Simply add the following line to the dependencies in your module level build.gradle
compile 'com.javon.viewmanager:viewmanager:1.0.3'Specifying it as a dependency through maven
<dependency>
<groupId>com.javon.viewmanager</groupId>
<artifactId>viewmanager</artifactId>
<version>1.0.3</version>
<type>pom</type> </dependency>
As a library project
Download the source code and import it as a library project in Eclipse. The project is available in the folder viewmanager. For more information on how to do this, read here.
Usage
Define views
First thing you need to do is to prepare the views you want to be included in the controller. You can do this by inflating them in Java using the LayoutInflator class or just placing them in the xml. See below for an example xml the activity_image_view_sample.xml from the example module in the project.
<?xml version="1.0" encoding="utf-8"?> <RelativeLayout xmlns:android="http://schemas.android.com/apk/res/android"
  xmlns:tools="http://schemas.android.com/tools"
  android:layout_width="match_parent"
  android:layout_height="match_parent"
  android:paddingBottom="@dimen/activity_vertical_margin"
  android:paddingLeft="@dimen/activity_horizontal_margin"
  android:paddingRight="@dimen/activity_horizontal_margin"
  android:paddingTop="@dimen/activity_vertical_margin"
  tools:context=".samples.ImageViewSampleActivity">

<ImageView

android:layout_width="200dp"

android:layout_height="200dp"

android:id="@+id/apples_imageview"

android:src="@drawable/apples"

android:layout_centerVertical="true"

android:layout_centerHorizontal="true" />

<ImageView

android:layout_width="200dp"

android:layout_height="200dp"

android:id="@+id/banana_imageview"

android:src="@drawable/banana"

android:visibility="gone"

android:layout_centerVertical="true"

android:layout_centerHorizontal="true" />

<ImageView

android:layout_width="200dp"

android:layout_height="200dp"

android:id="@+id/grapes_imageview"

android:src="@drawable/grapes"

android:visibility="gone"

android:layout_centerVertical="true"

android:layout_centerHorizontal="true" />

<ImageView

android:layout_width="200dp"

android:layout_height="200dp"

android:id="@+id/oranges_imageview"

android:src="@drawable/oranges"

android:visibility="gone"

android:layout_centerVertical="true"

android:layout_centerHorizontal="true" />

<TextView

android:layout_width="wrap_content"

android:layout_height="wrap_content"

android:textAppearance="?android:attr/textAppearanceLarge"

android:text="@string/fruits"

android:layout_alignParentTop="true"

android:layout_centerHorizontal="true" /> </RelativeLayout>
Note in the xml above only one of the ImageViews is visible. Only the view you would like to be seen first should be visible, all other views that will be shown should have their visibility set to GONE.
Populate ArrayList
After inflating the views an ArrayList will need to be constructed which contains the views in the order they should be shown, this will be the ArrayList that will be passed into the Controller class. It is important that the Views are in the ArrayList in the order you would like them to appear!
That's it
After that just pass them into the Constructor of the Controller class along with a Context and that's it! See below for an example how you would do this using the views from the xml above.
ImageView appleView = (ImageView) findViewById(R.id.apples_imageview);
 ImageView bananaView = (ImageView) findViewById(R.id.banana_imageview);
 ImageView grapesView = (ImageView) findViewById(R.id.grapes_imageview);
 ImageView orangesView = (ImageView) findViewById(R.id.oranges_imageview);
  ArrayList<View> views = new ArrayList<>();
 views.add(appleView);
 views.add(bananaView);
 views.add(grapesView);
 views.add(orangesView);
  Controller controller = new Controller(this,views);
Note this will use the default animation of flipping.
Customizations
Three animations have been provided in the library RightFlipAnimator LeftFlipAnimator and Fade Animator and a shake animator was also made in the example but is not included in the library as yet. The default is set to be RightFlipAnimator for forward and LeftFlipAnimator backward. If you would like to change it to the fading animation you can use the setter method provided or the constructor which accepts animators as parameters. See example below
Controller controller = new Controller(this,views,true,false, new FadingAnimator(),new FadingAnimator());
The two boolean parameters before the animators specify whether the controller should use the default listener or not, and whether it should loop around when the ArrayList has been exhausted or not.
If you would like to use a custom animation, your class will need to extend the ControllerAnimator class in the library. This class extends the Animation class and also implements the AnimationListener interface, so certain helper methods will be available.See below for an example
class ShakeAnimator extends ControllerAnimator
  {

 @Override

public void onAnimationStart(Animation animation) {

 final View oldView = getOldView();

 final View newView = getNewView();

  Animation shake = AnimationUtils.loadAnimation(CustomAnimatorSampleActivity.this, R.anim.shake);

 shake.setDuration(getDuration());

 shake.setAnimationListener(new AnimationListener() {

  @Override

  public void onAnimationStart(Animation animation) {

}

@Override

  public void onAnimationEnd(Animation animation) {

oldView.setVisibility(View.GONE);

newView.setVisibility(View.VISIBLE);


}

@Override

  public void onAnimationRepeat(Animation animation) {

}


}
);

 oldView.startAnimation(shake);

}

 @Override

public void onAnimationEnd(Animation animation) {


}

 @Override

public void onAnimationRepeat(Animation animation) {


}


}
The following animation can be demoed in the example module of the project.
Contributions
Please fork this repository and contribute back using pull requests. Features can be requested using issues. All code, comments, and critiques are greatly appreciated.
Encouraged contributions are more animators that can be included as default options in the library. Please see the ControllerAnimator classs as all animators will need to extend this. This main purpose of this class is to enforce the presence of both an oldView to transition from and a newView to transition to.

