FingerprintAssistant
FingerprintAssistant is a library built to seamlessly integrate fingerprint api's into any android project. The custom callback structure implemented will provide callbacks for all possible scenarios encountered while integrating fingerprint api's. FingerprintAssistant primarily address the elimination of validations overhead and focus on business logic to make fingerprint auth as easy and as fast as possible.
Usage
Add the following line in project's root level gradle,
maven {
 url 'https://jitpack.io'
}
Add the below line in module level gradle,
compile 'com.github.dev-prajwal21:FingerprintAssistant:1.0' Implement the interface FingerprintAuthListener in the activity and implement the method shown below,
@Override public void onAuthentication(int helpOrErrorCode, CharSequence infoString, FingerprintManager.AuthenticationResult authenticationResult, int authCode) {

  switch (authCode) {

case ResponseCode.AUTH_ERROR:

 // Show appropriate message

 break;

case ResponseCode.AUTH_FAILED:

 // Show appropriate message

 break;

case ResponseCode.AUTH_HELP:

 // Show appropriate message

 break;

case ResponseCode.AUTH_SUCCESS:

 // Do whatever you want

 break;

}

}
In the activity, create an object of FingerprintHelper class and pass the context and keystore name as shown below,
FingerprintHelper fingerPrintHelper = new FingerprintHelper(this, "Your-preferred-keystore-name");
Call the following method on the fingerPrintHelper object created to receive the response code from FingerprintAssistant,
int responseCode = fingerPrintHelper.checkAndEnableFingerPrintService();
Check for the various response code values returned and take appropriate action,
switch (responseCode) {

case ResponseCode.FINGERPRINT_SERVICE_INITIALISATION_SUCCESS:

 showToast("Fingerprint sensor service initialisation success");

 break;

case ResponseCode.OS_NOT_SUPPORTED:

 showToast("OS doesn't support fingerprint api");

 break;

case ResponseCode.FINGER_PRINT_SENSOR_UNAVAILABLE:

 showToast("Fingerprint sensor not found");

 break;

case ResponseCode.ENABLE_FINGER_PRINT_SENSOR_ACCESS:

 showToast("Provide access to use fingerprint sensor");

 break;

case ResponseCode.NO_FINGER_PRINTS_ARE_ENROLLED:

 showToast("No fingerprints found");

 break;

case ResponseCode.FINGERPRINT_SERVICE_INITIALISATION_FAILED:

 showToast("Fingerprint service initialisation failed");

 break;

case ResponseCode.DEVICE_NOT_KEY_GUARD_SECURED:

 showToast("Device is not key guard protected");

 break;

}
If the response code received is ResponseCode.FINGERPRINT_SERVICE_INITIALISATION_SUCCESS, then start scanning the fingerprint sensor by creating an instance of FingerprintResultsHandler as shown below,
  FingerprintResultsHandler fingerprintResultsHandler = new FingerprintResultsHandler(this);

fingerprintResultsHandler.setFingerprintAuthListener(this);

fingerprintResultsHandler.startListening(fingerPrintHelper.getFingerprintManager(), fingerPrintHelper.getCryptoObject());
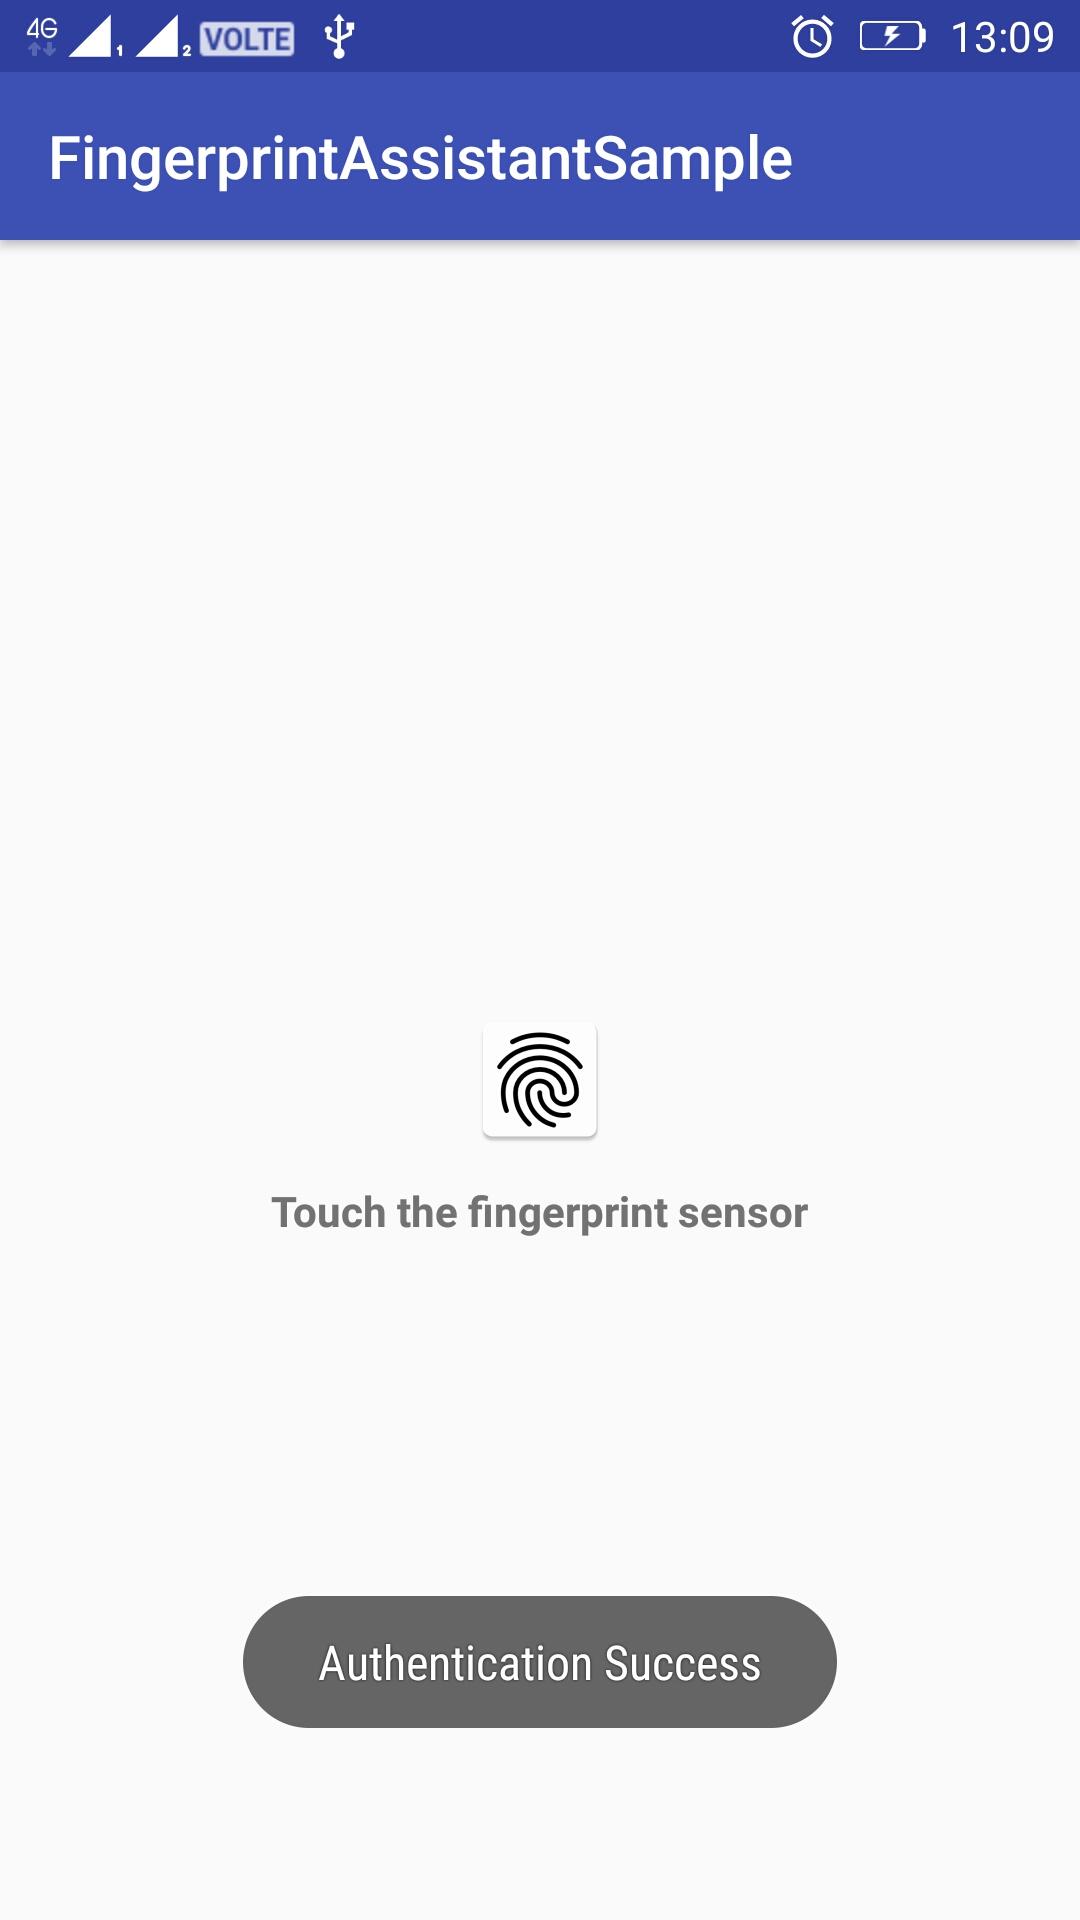
Touch the fingerprint sensor and get the appropriate results in the onAuthentication callback method.
Additionally to better control the scanning of fingerprint sensor, start and stop the scanning respectively in the following lifecycle methods of the activity,
  @Override protected void onResume() {

  super.onResume();

  // Start fingerprint scanning and listen for fingerprint callbacks
  if (Build.VERSION.SDK_INT >= Build.VERSION_CODES.M) {

if (fingerprintResultsHandler != null && !fingerprintResultsHandler.isAlreadyListening()) {

 fingerprintResultsHandler.startListening(fingerPrintHelper.getFingerprintManager(), fingerPrintHelper.getCryptoObject());

}


}

}
  @Override protected void onStop() {

  super.onStop();

  // Stop fingerprint scanning and listening for fingerprint callbacks
  if (Build.VERSION.SDK_INT >= Build.VERSION_CODES.M) {

if (fingerprintResultsHandler != null) {

 fingerprintResultsHandler.stopListening();

}


}

}
Note: Please take a look at the sample app for more clarity on implementation.
