ValiFi
- Are you tired of creating forms in app and checking all the possible inputs?
- Would you like to validate things in realtime instead of after submit?
- Are you using data binding or would like to try?
ValiFi is for you!
- ValiFi is android library for validating fields or whole forms.
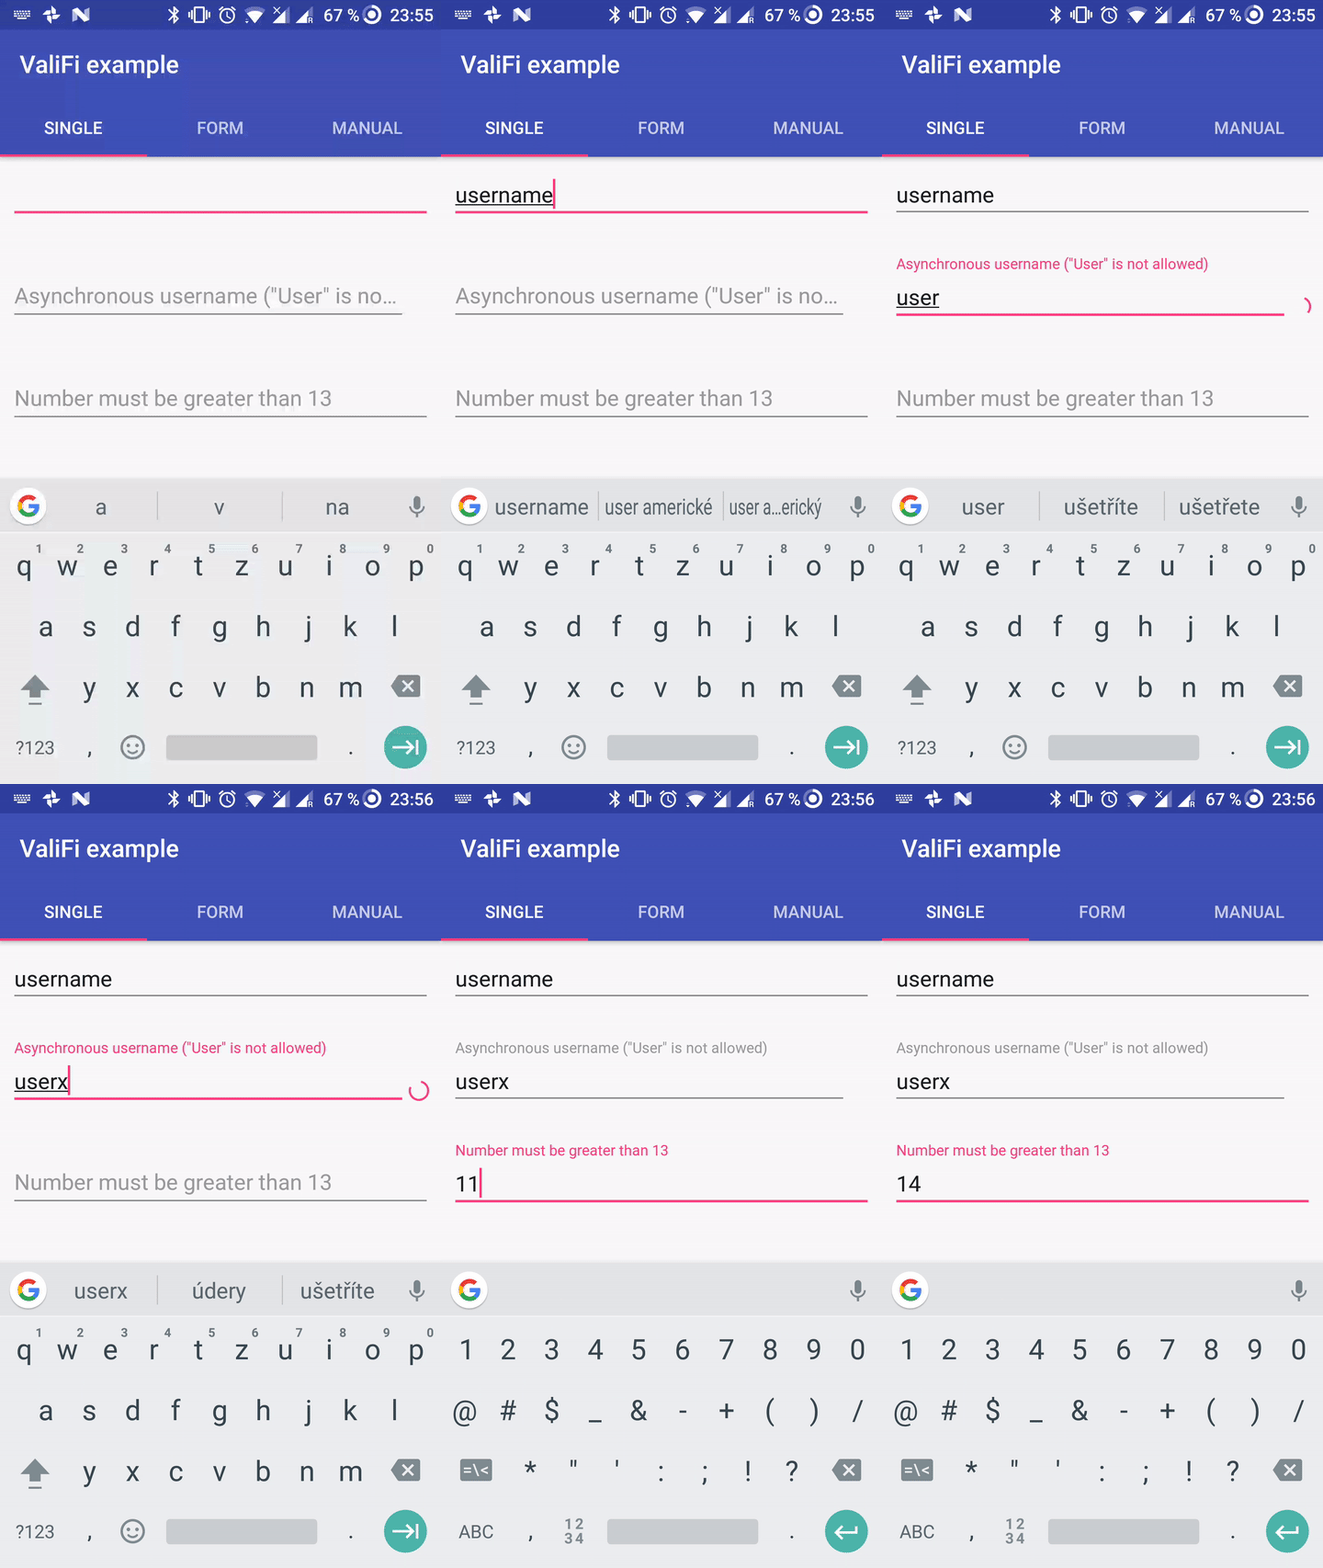
- It's working with data binding and validations are visible immediately when user adds input.
- It's highly customizable and simple for use.
How to use
Initialize the library
1. Add gradle dependency
compile 'com.mlykotom:valifi:1.1.6'2. Setup project with data binding
android{

  ...
  dataBinding {

enabled = true
}

  ...
}
3. Install the library in application class
public class MyApplication extends Application {

  @Override
  public void onCreate() {

ValiFi.install(this);


}

}
Use in your code
0. Bind your ViewModel/Fragment/etc to layout (you may already have this)
You may refer to Android's reference for data binding: https://developer.android.com/topic/libraries/data-binding/index.html
(examples uses inloop's library https://github.com/inloop/AndroidViewModel)
1. Create field you want to validate
public final ValiFieldEmail email = new ValiFieldEmail();
2. Use it from layout
Library uses two-way data binding so be careful of adding android:text=" @={ ... } "
<android.support.design.widget.TextInputLayout
  ...
  app:errorEnabled="true"
  app:error="@{
viewModel.email.error
}
">

<android.support.design.widget.TextInputEditText

...

 android:text="@={
viewModel.email.value
}
"

android:hint="E-mail address" /> </android.support.design.widget.TextInputLayout>  ...  <Button
  ...
  android:enabled="@{
viewModel.email.isValid
}
"
  android:text="Submit" />
3. Destroy the field
In order to prevent leaks, field must be destroyed before destroying the screen!
This is easily done by calling:
@Override public void onDestroy() {
  email.destroy();
  super.onDestroy();

}
Or if you have more than one field:
@Override public void onDestroy() {
  ValiFi.destroyFields(email, password);
  super.onDestroy();

}
Or if you use form (see Forms!):
@Override public void onDestroy() {
  form.destroy();
  super.onDestroy();

}
And That's it!
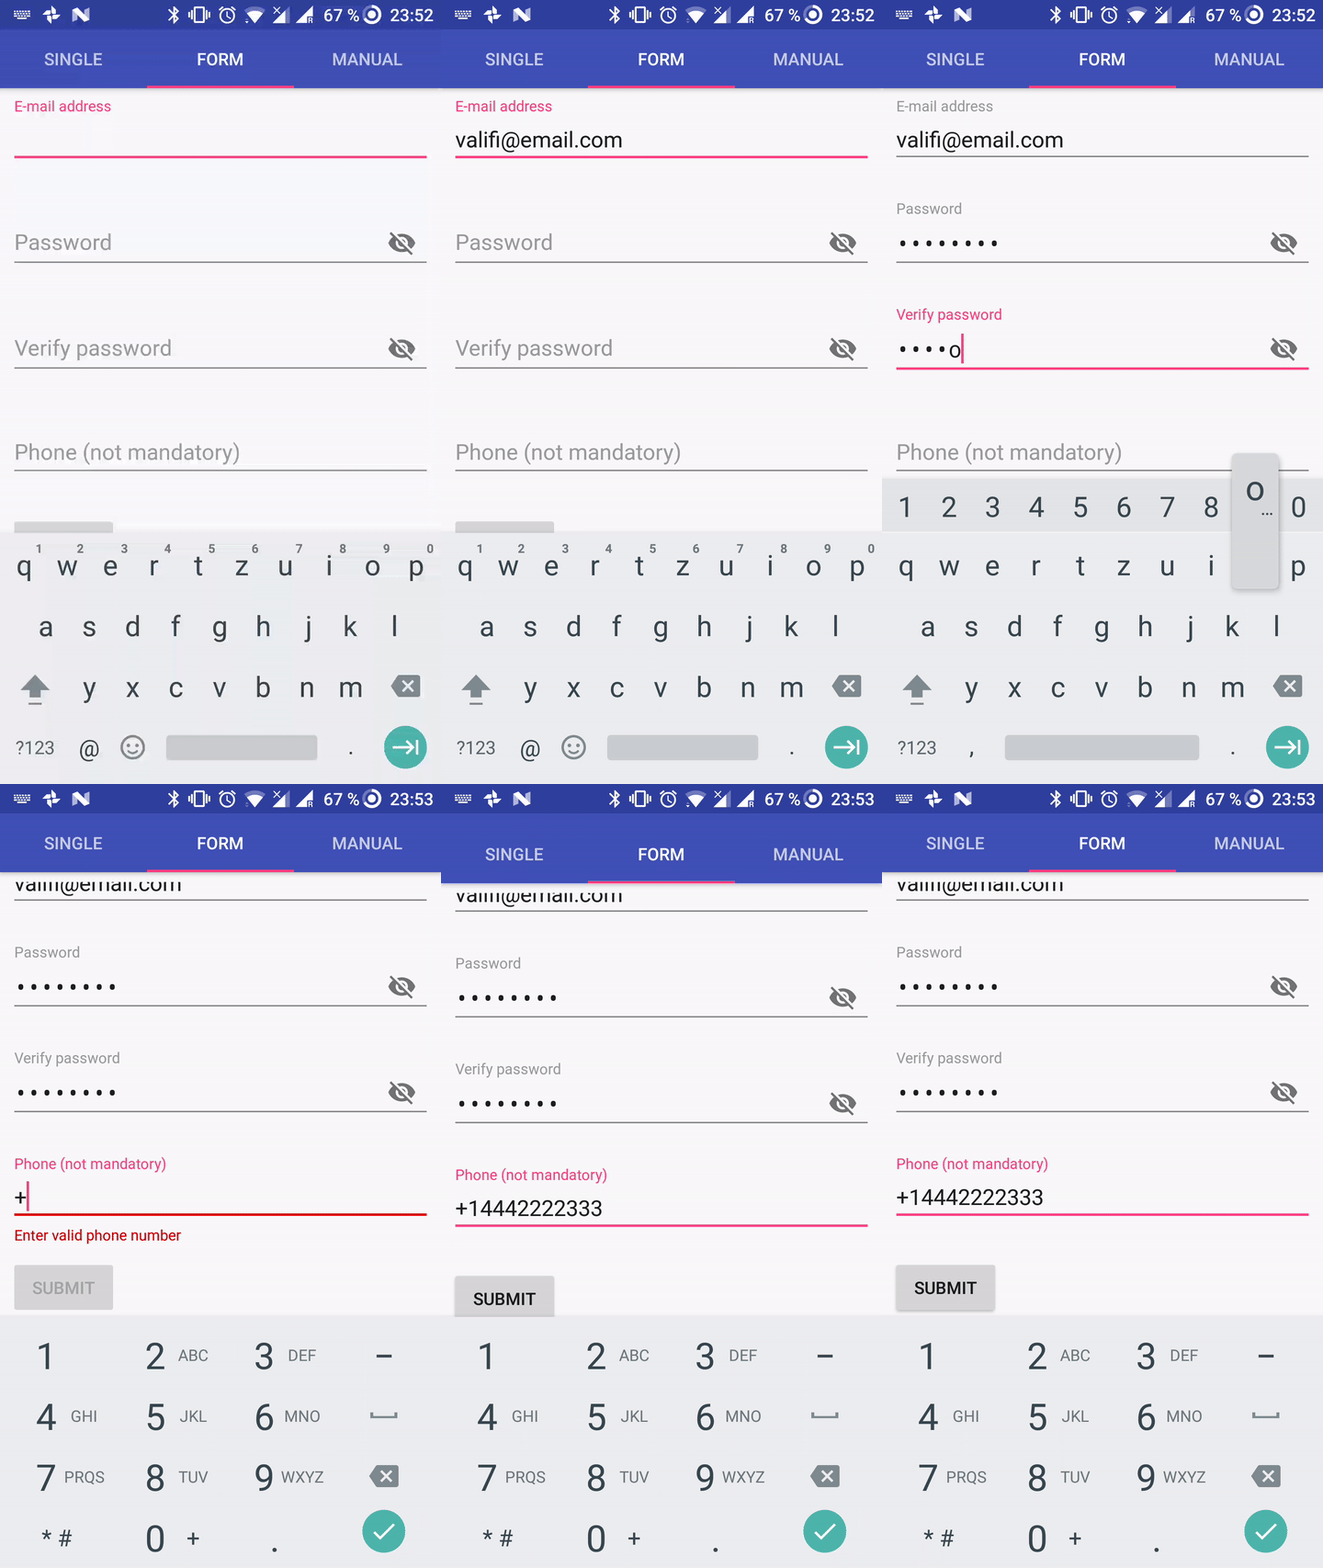
When user types his e-mail, it will automatically validates input and enables/disables submit button.
Customizations
There are plenty of options to customizate ValiFi.
Globally (for whole app)
public class MyApplication extends Application {

  @Override
  public void onCreate() {
  ValiFi.install(this,
 new ValiFi.Builder()
 .setErrorDelay(1000) // possibility of .setErrorDelay(ValiFiErrorDelay.NEVER)
 .setErrorResource(ValiFi.Builder.ERROR_RES_EMAIL, R.string.my_custom_email_error)
 .setPattern(ValiFi.Builder.PATTERN_EMAIL, Patterns.EMAIL_ADDRESS)
 .build()  );


}

}
Locally (for specified field)
public final ValiFieldEmail email = new ValiFieldEmail("default nullable value", "Custom error message");
Specify your field by adding validators
public final ValiFieldText fieldWithDifferentValidations = new ValiFieldText();
  fieldWithDifferentValidations  .addRangeLengthValidator(3, 10)  .setEmptyAllowed(true)  .addPatternValidator("pattern not valid", Patterns.IP_ADDRESS)  .addCustomValidator("custom not valid", new ValiFieldBase.PropertyValidator<String>() {

@Override
public boolean isValid(@Nullable String value) {

 return whenThisIsValid;

}

}
);
Forms!
Want to allow submit after all fields valid?
public final ValiFieldEmail email = new ValiFieldEmail();
 public final ValiFieldPassword password = new ValiFieldPassword();
  public final ValiFiForm form = new ValiFiForm(email, password);
<Button  ...  android:enabled="@{
viewModel.form.isValid
}
"  ...  android:text="Submit" />
For more information about customizing visit Wiki
Examples
License
Copyright 2017 Tomas Mlynaric  Licensed under the Apache License, Version 2.0 (the "License");
 you may not use this file except in compliance with the License. You may obtain a copy of the License at

http://www.apache.org/licenses/LICENSE-2.0 Unless required by applicable law or agreed to in writing, software distributed under the License is distributed on an "AS IS" BASIS, WITHOUT WARRANTIES OR CONDITIONS OF ANY KIND, either express or implied. See the License for the specific language governing permissions and limitations under the License. 
